Sativa tinctures are a popular method for consuming cannabis, particularly among those who prefer the uplifting and energizing effects typically associated with sativa strains. Tinctures are concentrated liquid extracts made by infusing cannabis into a solvent, often alcohol or glycerin. This method allows for a quick onset of effects, making tinctures an appealing option for both recreational and medicinal users.
Unlike traditional smoking or vaping, tinctures offer a discreet and smoke-free way to enjoy the benefits of cannabis. The appeal of sativa tinctures lies not only in their effects but also in their versatility. Users can easily adjust their dosage, making it easier to find the right amount for their individual needs.
Additionally, tinctures can be added to food or beverages, providing a unique way to incorporate cannabis into daily routines. Understanding the process of making sativa tinctures can empower enthusiasts to create their own personalized products at home, ensuring quality and potency tailored to their preferences.
Key Takeaways
- Sativa tinctures are a concentrated form of cannabis that can be used for medicinal or recreational purposes.
- Gathering high-quality cannabis and a solvent such as alcohol or glycerin is essential for making sativa tinctures at home.
- Decarboxylating cannabis is a crucial step in activating the cannabinoids and maximizing the potency of the tincture.
- Choosing the right solvent is important as it will determine the flavor and potency of the final tincture.
- Properly infusing the cannabis and solvent, straining the tincture, and storing it in a cool, dark place are key steps in making a potent and long-lasting sativa tincture.
Gathering Your Ingredients
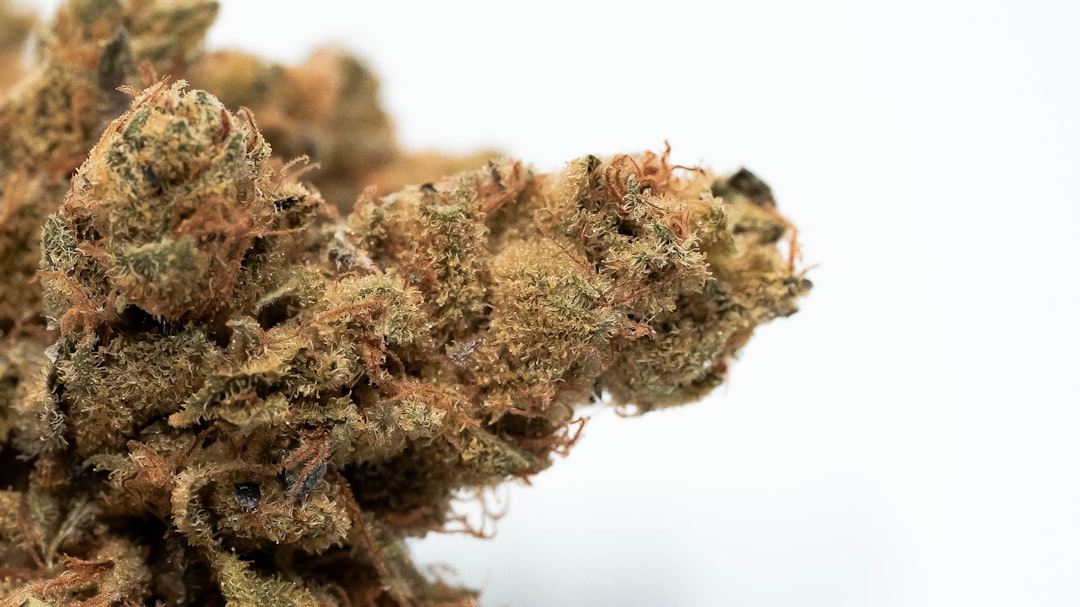
Before embarking on the journey of creating sativa tinctures, it is essential to gather all necessary ingredients and tools. The primary ingredient, of course, is the cannabis itself. Selecting high-quality sativa strains is crucial, as the potency and flavor profile will significantly influence the final product.
Many users prefer strains known for their uplifting effects, such as Green Crack or Jack Herer, which can enhance the overall experience. In addition to cannabis, the choice of solvent is vital. Common options include high-proof alcohol, such as Everclear, or vegetable glycerin for those seeking a non-alcoholic alternative.
Each solvent has its own extraction properties and flavor profiles, so it’s important to choose one that aligns with personal preferences. Other tools needed for the process include a glass jar for mixing, a double boiler or slow cooker for heating, cheesecloth or a fine mesh strainer for filtering, and dropper bottles for storage. Having everything prepared in advance will streamline the process and ensure a successful outcome.
Decarboxylating Your Cannabis
Decarboxylation is a crucial step in the tincture-making process that involves heating cannabis to activate its psychoactive properties. Raw cannabis contains tetrahydrocannabinolic acid (THCA), which does not produce the desired effects until it is converted into THC through decarboxylation. This process typically occurs at temperatures between 220°F and 240°F (104°C to 116°C) for about 30 to 40 minutes.
To decarboxylate cannabis, users can spread their ground cannabis evenly on a baking sheet lined with parchment paper and place it in an oven. Monitoring the temperature is essential to avoid burning the material, which can lead to a loss of potency and flavor. Once decarboxylated, the cannabis will have a toasted aroma and a slightly darker color, indicating that it is ready for infusion into the chosen solvent.
This step is fundamental in ensuring that the tincture delivers the desired effects when consumed.
Choosing Your Solvent
The choice of solvent plays a significant role in the extraction process and ultimately affects the flavor and potency of the tincture. High-proof alcohol is one of the most popular solvents due to its efficiency in extracting cannabinoids and terpenes from cannabis. Alcohol-based tinctures tend to have a longer shelf life and can produce a more potent product compared to other methods.
However, some users may prefer to avoid alcohol for personal or health reasons. Vegetable glycerin is an excellent alternative for those seeking a non-alcoholic option. While glycerin may not extract cannabinoids as effectively as alcohol, it offers a sweeter taste and is suitable for those who want to avoid alcohol altogether.
Additionally, glycerin-based tinctures are often favored by individuals who may be sensitive to alcohol or are looking for a more palatable option. Ultimately, the choice of solvent should align with personal preferences and desired outcomes.
Mixing Your Cannabis and Solvent
Once the cannabis has been decarboxylated and the solvent chosen, it’s time to mix the two ingredients together. In a glass jar, combine the decarboxylated cannabis with the solvent in a ratio that suits individual preferences; a common starting point is one ounce of cannabis to two cups of solvent. This ratio can be adjusted based on desired potency and flavor intensity.
After combining the ingredients, it’s essential to seal the jar tightly and give it a good shake to ensure even distribution of the cannabis within the solvent. This initial mixing helps kickstart the extraction process, allowing cannabinoids and terpenes to begin dissolving into the liquid. The mixture should then be stored in a cool, dark place for several weeks, with occasional shaking to further enhance extraction.
This patience is key; allowing sufficient time for infusion will yield a more potent and flavorful tincture.
Infusing Your Tincture
Room Temperature Infusion
Some users prefer to let their tincture infuse at room temperature for several weeks, allowing the cannabinoids and terpenes to slowly dissolve into the solvent. This method requires patience, but it can result in a high-quality extract.
Heat-Assisted Infusion
For those looking to expedite the infusion process, using a double boiler or slow cooker can significantly reduce infusion time while preserving potency. By gently heating the mixture at low temperatures (ideally around 160°F or 71°C), users can accelerate extraction without risking degradation of cannabinoids.
Temperature Control is Key
It’s essential to monitor the temperature closely during the infusion process to avoid overheating, which can lead to loss of potency and flavor. By controlling the temperature, users can ensure a high-quality extract that retains the full benefits of the cannabis plant.
Straining Your Tincture
After allowing sufficient time for infusion, it’s time to strain the tincture to separate the liquid from the plant material. This step is crucial for achieving a smooth final product free from any unwanted sediment or plant matter. Using cheesecloth or a fine mesh strainer, pour the infused mixture into another clean glass container while gently pressing down on the plant material to extract as much liquid as possible.
Once strained, users may choose to further filter their tincture through coffee filters or additional layers of cheesecloth for an even clearer result. The leftover plant material can be composted or discarded, as its purpose has been fulfilled in extracting valuable compounds into the tincture. The resulting liquid should be rich in color and aroma, indicating that it has successfully captured the essence of the chosen sativa strain.
Storing Your Tincture
Proper storage is essential for maintaining the quality and potency of homemade sativa tinctures. Once strained, it’s best to transfer the tincture into dark glass dropper bottles that protect against light exposure, which can degrade cannabinoids over time. Labeling each bottle with strain information and date of creation will help keep track of different batches.
Tinctures should be stored in a cool, dark place away from direct sunlight and heat sources. When stored correctly, sativa tinctures can last for several months or even years without significant loss of potency. Regularly checking for any changes in color or smell can help ensure that the tincture remains fresh and effective.
Determining Dosage
Determining an appropriate dosage for sativa tinctures can be challenging but is crucial for achieving desired effects without overwhelming oneself. Since tinctures are highly concentrated, starting with a low dose is advisable—typically around 1 milliliter (or one dropper full) for beginners. Users can gradually increase their dosage over time based on their individual tolerance levels and desired effects.
It’s important to note that individual responses to cannabis can vary widely based on factors such as body weight, metabolism, and previous experience with cannabis products. Keeping a journal to track dosages and effects can help users find their ideal amount while ensuring a safe and enjoyable experience.
Using Your Sativa Tincture
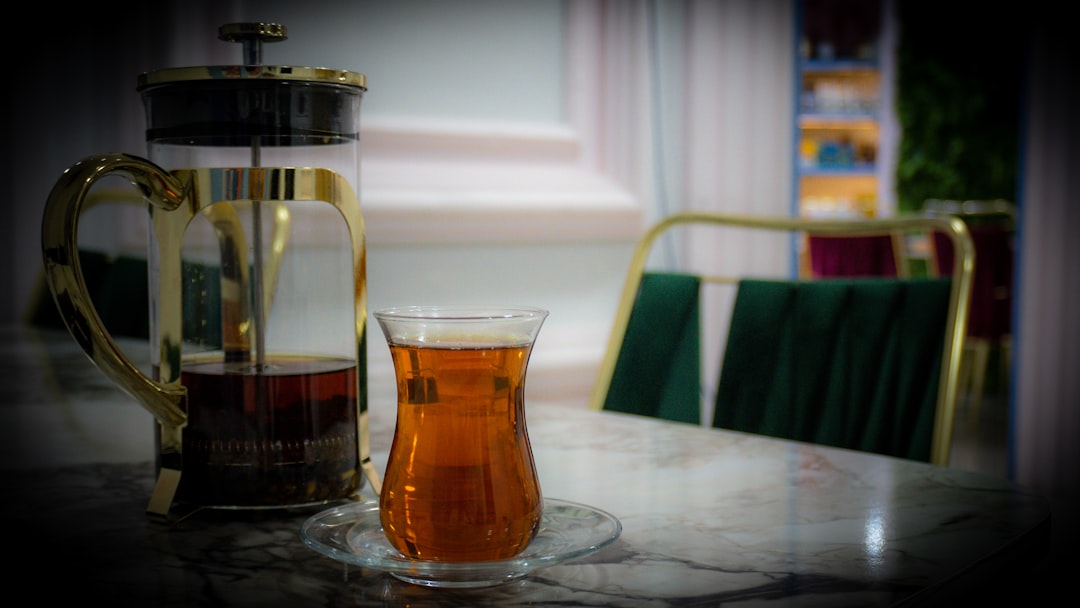
Sativa tinctures offer versatility in consumption methods that cater to various preferences. The most common way to use tinctures is by placing drops under the tongue (sublingually), where they are quickly absorbed into the bloodstream for fast-acting effects. This method allows users to feel results within minutes, making it an ideal choice for those seeking immediate relief or stimulation.
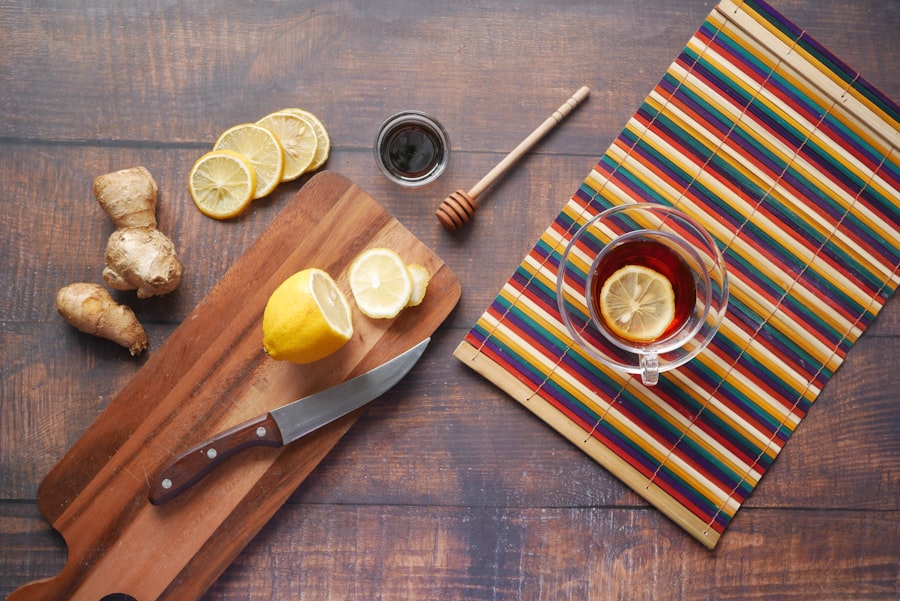
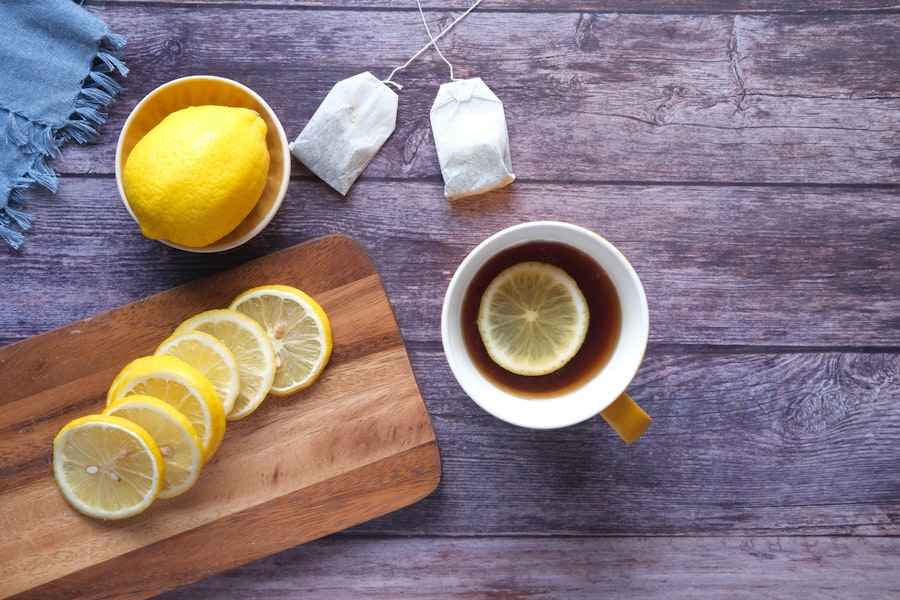
Alternatively, tinctures can be added to food or beverages for a more gradual onset of effects. Mixing tinctures into smoothies, teas, or salad dressings provides an enjoyable way to incorporate cannabis into meals without drawing attention. Regardless of how one chooses to consume their sativa tincture, understanding personal preferences and desired outcomes will enhance the overall experience.
Tips and Tricks for Making Sativa Tinctures at Home
Creating sativa tinctures at home can be an enjoyable and rewarding process when approached with care and attention to detail. One helpful tip is to experiment with different strains and ratios of cannabis to solvent until finding a combination that suits personal preferences best. Each strain has its unique flavor profile and effects; thus, exploring various options can lead to exciting discoveries.
Another useful trick is to keep meticulous notes throughout the process—from strain selection and decarboxylation times to infusion periods and dosages—allowing users to replicate successful batches in the future easily. Additionally, investing in quality tools such as precision scales for measuring ingredients or high-quality glassware can enhance both safety and efficiency during production. In conclusion, making sativa tinctures at home offers enthusiasts an opportunity to explore cannabis in a new way while tailoring products to their specific needs and preferences.
By understanding each step—from gathering ingredients and decarboxylating cannabis to infusing and storing tinctures—users can create high-quality extracts that deliver enjoyable experiences tailored just for them.
If you’re interested in learning more about the benefits of sativa strains and how to incorporate them into your daily routine, be sure to check out the informative articles on Sativa Learning. Their website offers a wealth of knowledge on the different types of cannabis strains, their effects, and how to use them effectively. Whether you’re a seasoned cannabis user or just starting out, Sativa Learning has something for everyone.